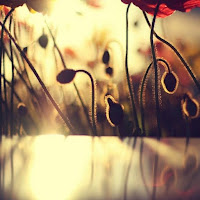
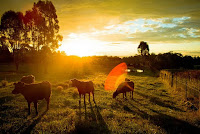
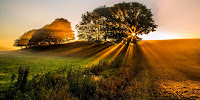
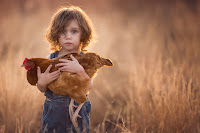
GOLDEN HOUR: The hour* after sunrise and before sunset.
*Depending on where you are on Earth, the hour will be longer or shorter than an actual 'hour.'

OUR FORECAST THIS WEEK:

Sunrise & sunset times (CLICK HERE).
Through the next four days, make 12+ images during the golden hours.
- 6+ photographs = portraits (humans)
- 6+ photographs = subject of your own choosing (animals, flowers...)
*As the next couple classes progress, we'll be talking about composition choices, camera functions & developing the images.
RATIONALE
To observe and record the type of light that occurs during the golden hours.
Also, because we are in Oregon, the sun will soon be obscured by clouds so to insure we can make our 'golden hour' images, we must do this project now. Yes, it can be done in fall and winter, but the sun is necessary, and in Oregon...well, you know.
EXTRA CREDIT
one+ morning golden/blue hour photographs - for obvious reasons. :)
MORE INFO↓
CLICK HERE for a link to portraits using natural light (perfect for golden hour).
ore about times and light. CLICK HERE.
10 REASONS to shoot portraits during golden hour. CLICK HERE.
Golden hour photography explained. CLICK HERE.
CLICK HERE for a link to portraits using natural light (perfect for golden hour).
ore about times and light. CLICK HERE.
10 REASONS to shoot portraits during golden hour. CLICK HERE.
Golden hour photography explained. CLICK HERE.
EXTRA TIPS, ETC.
Apps to find the hour(s) in your location:


Link. CLICK HERE.
Wiki definition. CLICK HERE.
A few tips. CLICK HERE.
Golden hour tips. CLICK HERE.
A good link. CLICK HERE.


Wiki definition. CLICK HERE.
A few tips. CLICK HERE.
Golden hour tips. CLICK HERE.
A good link. CLICK HERE.
The following graphics are not about the golden hour, but interesting for thinking planetarily about light from the sun: