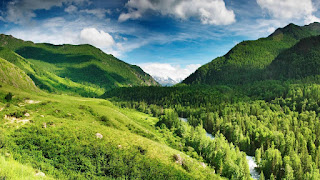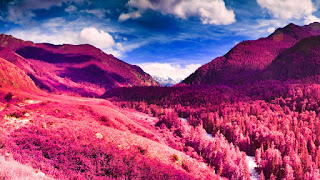

PROCESS:
1. Duplicate the background layer.
2. On that duplicate background layer, go to IMAGE+ADJUSTMENTS+INVERT.
3. Change the BLENDING MODE (at the top of the Layers palette) of that new duplicate layer to COLOR.
4. Create a NEW ADJUSTMENT LAYER + CHANNEL MIXER. (Do this by going to the LAYER menu, NEW ADJUSTMENT LAYER)
5. Adjust the CHANNEL MIXER levels to the following:
OUTPUT CHANNEL RED:
RED=0
GREEN=0
BLUE=100
OUTPUT CHANNEL GREEN:
RED=0
GREEN=100
BLUE=0
OUTPUT CHANNEL BLUE:
RED=100
GREEN=0
BLUE=0
*These are the basics. Adjust levels as necessary for your individual photographs
The Day Wonderland Stood Still... from Bruce W. Berry Jr on Vimeo.
6. Add IMAGE+ADJUSTMENTS+PHOTO FILTER (ETC.) to enhance your photo to your preferences.
