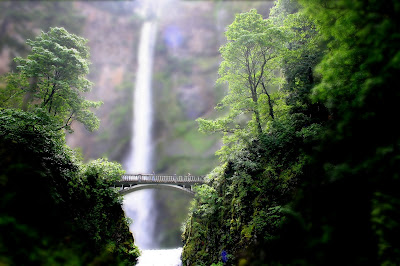
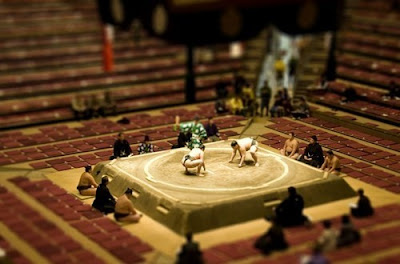
DIRECTIONS: From a vantage point that gives you very clear and obvious foreground, middle ground, and background, take 7-10 digital photographs (at the highest resolution possible on your camera).
WHAT NOT TO DO: make photographs that are looking UP with a lot visible sky. You will have the best results if your photographs are from a height looking DOWN.
**CLICK HERE--Read this to see if your photo has what it takes to become a tilt-shift masterpiece.--CLICK HERE.***
EXAMPLES & HOW TO's:
"Tilt-shift photography" refers to the use of camera movements on small- and medium-format cameras, and sometimes specifically refers to the use of tilt for selective focus, often for simulating a miniature scene. Sometimes the term is used when the shallow depth of field is simulated with digital postprocessing; the name may derive from the tilt-shift lens normally required when the effect is produced optically.
"Tilt-shift" actually encompasses two different types of movements: rotation of the lens plane relative to the image plane, called tilt, and movement of the lens parallel to the image plane, called shift. Tilt is used to control the orientation of the plane of focus (PoF), and hence the part of an image that appears sharp; it makes use of the Scheimpflug principle. Shift is used to adjust the position of the subject in the image area without moving the camera back; this is often helpful in avoiding the convergence of parallel lines, as when photographing tall buildings.

An video explanation of how a tilt-shift LensBaby lens works HERE.
50 examples of tilt-shift HERE.
50 more examples HERE.
The Scheimpflug Rule in action HERE.

A couple tilt-shift videos:
DIY tilt-shift lens instructions HERE. ☺☻


