
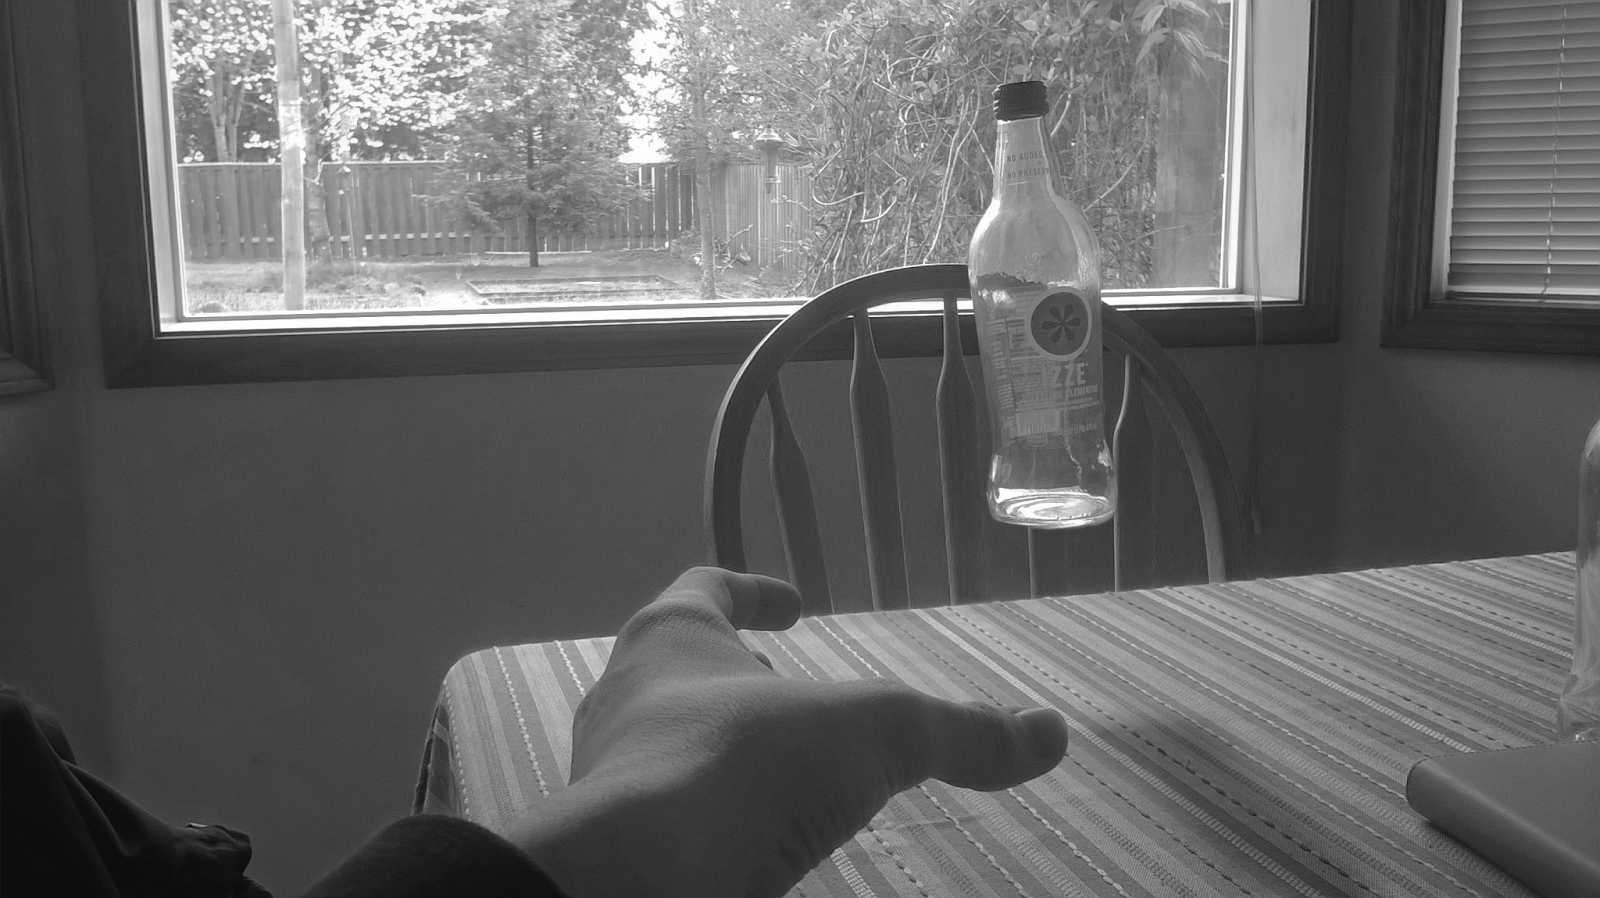
YOUR GOAL: Make the unbelievable believable.
1. Make three unique levitation photographs via the methods below and the tutorial(s) given in class.
2. Only ONE image from campus is allowed.
3. You will be graded on the official "scoring rubric."
TWO PAST STUDENT EXAMPLES OF A FOUR (4 ) ON THE SCORING RUBRIC:

THE HOW TO'S:
How to at Colossal. CLICK HERE.
The Art of Levitation. CLICK HERE.
50 Examples of levitation. CLICK HERE.
7 Tips for better levitation photos. CLICK HERE.
How to do it. CLICK HERE.

7 Tips for better levitation photos. CLICK HERE.
How to do it. CLICK HERE.

And another idea. CLICK HERE.
LOUIS LANDER DEACON
 |
NATSUMI HAYASHI

Yowayowacamera.com. CLICK HERE.
More of Natsumi. CLICK HERE.


OTHER EXAMPLES:
65 Examples. CLICK HERE.
Rick Nadal's site. CLICK HERE.
ABrian Speice. CLICK HERE.
Bairon Rivera. CLICK HERE.
Anka Zhuravleva. CLICK HERE.
Moose Photography. CLICK HERE.
And another idea. CLICK HERE.
Floating fruit. CLICK HERE.

More levitation GIFs. CLICK HERE.


