THE POINT: This project will help your understanding of aperture and shutter, and require you to control both functions to achieve your desired amount of motion blur. The measure of your skill will be in how accurately you control the shutter speed to capture intentional motion blur in one part of your image while still having non-blurred parts of your composition).
SHUTTER PRIORITY:
When you set your camera to shutter priority, YOU choose the shutter speed and the camera adjusts the aperture accordingly. Example: if you choose a fast shutter, your camera will likely open up the aperture wider to compensate. If you're adventurous, set you ISO as low as you can go for the given setting. Otherwise, set the ISO to auto mode.
For this project, you will set your SHUTTER SPEED first. By setting the shutter first, you are operating within what is called SHUTTER PRIORITY. This means that you determine the shutter speed prior to other settings. One judges the amount of blur he/she wants to record in the photograph, then sets the shutter accordingly. One sets the shutter FIRST, then adjusts the aperture to compensate for the slow shutter speed. (Reminder: a 'slow' shutter for this project may be something in the range of 1/15 of a second for daytime photos, and much slower for night/low-light photos.) Keep in mind that THERE IS NO MAGIC SHUTTER SPEED OR APERTURE SIZE for any one photograph. YOU are going to have to estimate the shutter speed based on how fast your subject is moving, how much light you have in your setting, how much blur you want to capture, etc.
BEFORE METERING your subject, set your SHUTTER SPEED to the desired speed to capture your preferred motion blur (Remember, this is an estimate on your part). Next, meter your subject and set the aperture to the appropriate setting so as to not overexpose your film.
If you are working with a point-and-shoot digital camera, set your function to a "nighttime setting" to trick the camera into holding the shutter open longer.
Do not use flash, as this will negate the blur.
Also, if you can, set your ISO to a low ISO such as 100 or lower.
TO INSURE SUCCESS:
Try the same photograph TWICE or THREE TIMES or TEN.... Once with a shutter speed slower than your subject matter, and a second time with an even slower shutter speed. You will have TWO of the same photograph, with one likely more successful.
STUDENT EXAMPLES:
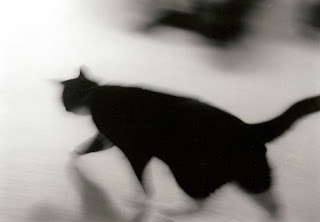
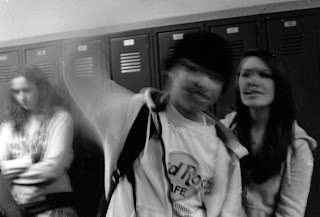
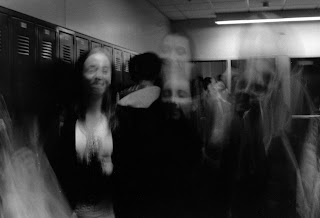
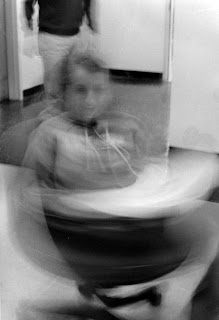
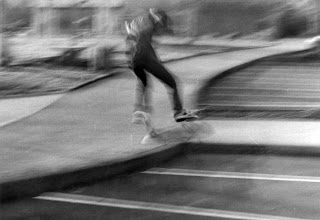
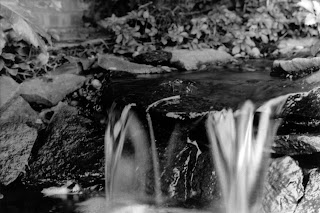
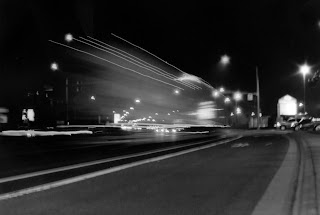
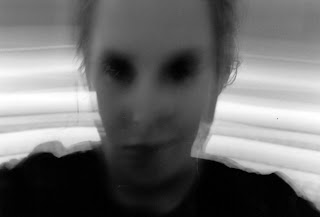
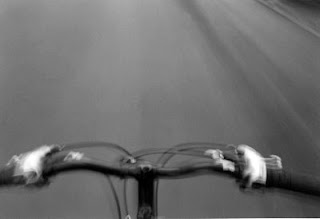
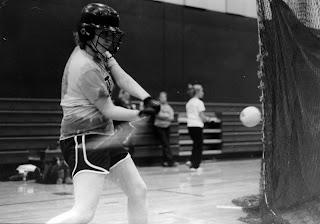
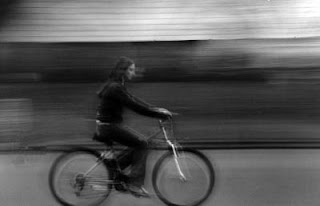
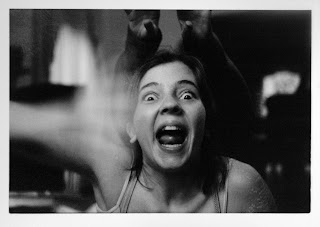
SPECIFIC EXAMPLES:
1. SUBJECT MOVING w/out BACKGROUND BLUR: Half of the roll done in this method
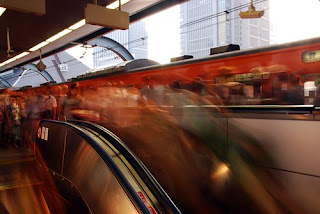
Here is a photograph I made in Tokyo last year. The camera settings were as follows:
ISO: 100
SHUTTER: 2 seconds
f-STOP: 22
You can see that at two seconds, one gets an incredible amount of blur. It doesn't take much.
Here is another example of extreme blur:
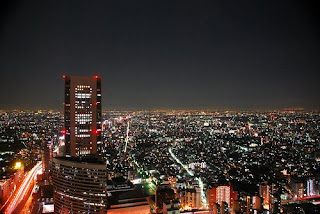
The camera settings were as follows:
ISO: 800
SHUTTER: 20 seconds
f-STOP: 3.5
The blur in this photograph is very subtle. You can see it in the red streaks of car tail lights. You can also tell - based on how the sided of the buildings are illuminated - that the shutter was open for longer than a fraction of a second. The 20 second shutter speed gave time for the red lights to reflect off of the buildings' sides, and make their way to the camera.
2. PANNING (BACKGROUND BLURRED, but SUBJECT NOT BLURRED: Half of the roll done in this method

Here is a student photo from 2005. Based on the shutter speeds and aperture settings for the Tokyo photos, what do you think the camera could be set to for this photo to have been made?
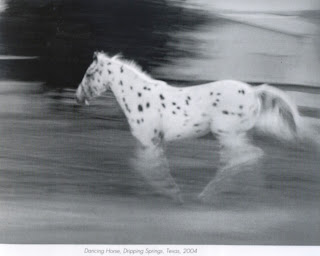
Panning is when the camera is moving at the same rate of speed, and in the same direction as the subject. When the photograph is taken, the moving subject is crisp, and not blurred, but the background is blurred.
This technique works best when the subject is moving perpendicular to the camera. Predetermine the path of your subject and focus for the distance it will be when you plan to release the shutter. Next, center the subject in the viewfinder and move the camera with the moving subject. When your subject reaches the predetermined exposure point, release the shutter while continuing to move the camera.
Here is a photograph taken for the yearbook four years ago - a perfect example of slowed-down shutter, still camera, moving subject, and enough blur to capture the motion, but not so much as to make the subject unrecognizable.

And a perfect example of panning:
OTHER KINDS OF MOTION BLUR YOU CAN TRY:
HOW TO SHOOT LIGHT TRAILS HERE.
STAR TRAILS:
LIGHT WRITING:


.jpeg)
