TODAY IN CLASS: (4 points)
1. Make ONE practice image with 3+ different clones of your partner.
2. Assemble the different images into one final image.
3. Post to your BLOG.
4. Drop to shared DRIVE.
@HOME FOR NEXT CLASS: (4 points)
1. Make two different sets of photographs (family/friend/yourself).
2. Assemble TWO images with THREE+ different clones each.
3. Each final image must be a distinctly different setting/place.
4. Bring photos to next class to begin processing and combining.
NOTE: Direct your subject to do something different/odd/thought provoking for each of the separate photographs you make...make it something that is interesting and unexpected for the viewer.
EXTRA CREDIT: If your clones give us a narrative of some sort, you will earn FOUR extra credit points.
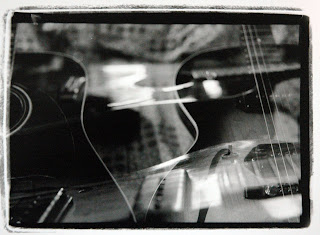
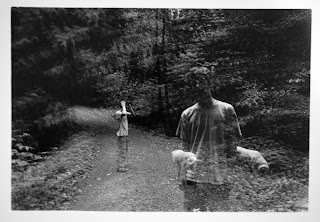
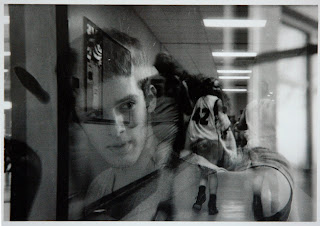
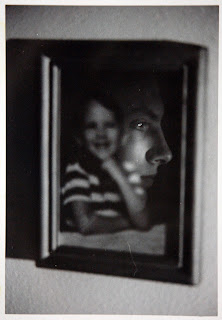
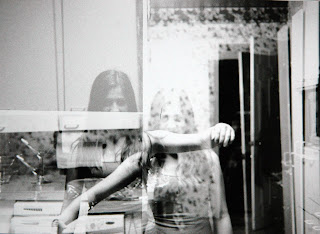
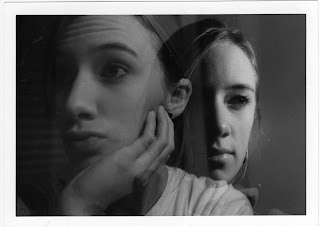
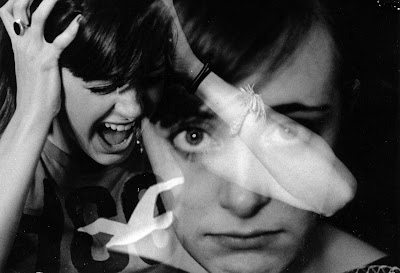
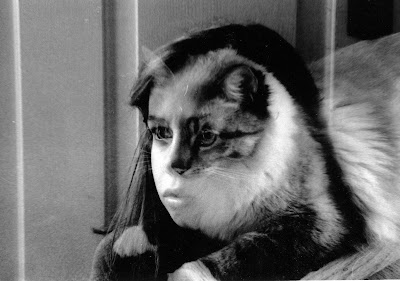
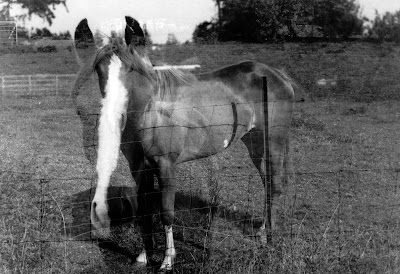
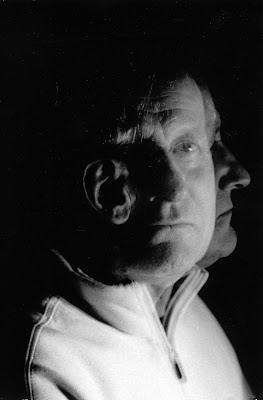
PAST STUDENT WORK:
DIRECTIONS:
1. Placing your camera in ONE spot.
2. Do not move the camera. The background of each individual photo needs to match precisely.
3. Take multiple photographs with yourself in a different spot each time.
4. Set the timer, or have someone carefully push the shutter button for each of the photos, if you wish. It will look similar to this symbol in/on your camera:
Once the photos are taken...
4. Stack the images in Photoshop.
5. Erase the parts that are not needed from each layer so that the final compressed image contains you and your clones.
NOTE: Do not move the camera between photos. Even minimal changes in the camera position will distort perspective and light.
EXAMPLES
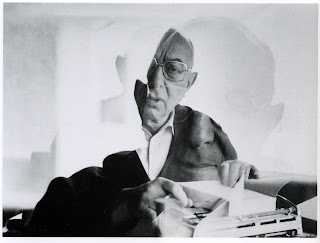
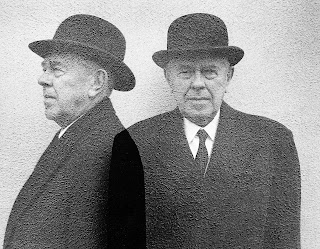
Here are over-the-top examples by Martin Liebscher. CLICK HERE for his site.


.jpeg)
.jpg)
.jpg)
