DIRECTIONS:
A. If you are working with a DSLR,
1. Set your mode to "A" for "aperture priority."
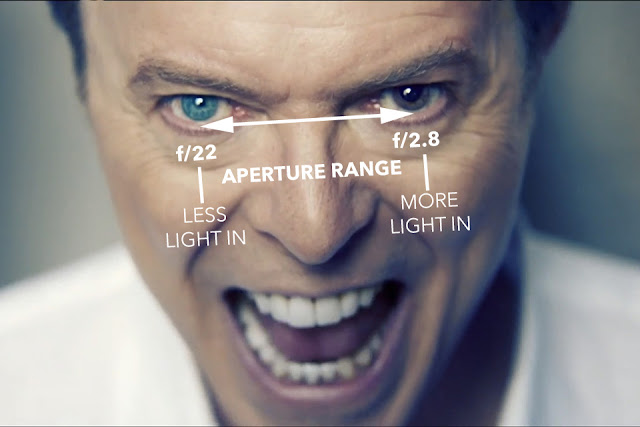
2. Then, set your aperture to as WIDE OPEN a setting as possible. That means, the SMALLEST f/stop number. Look at these aperture sizes in relation to the numbers below them:
This will give you the smallest sliver of focus possible with your lens.
3. If you are in Aperture Priority setting, your camera will then set the shutter speed to compensate for the wide open aperture.
B. If you are working with a point-and-shoot camera, or a phone camera,
1. Set your camera mode to the "macro" function:

2. This will open your aperture as wide as your camera lens is able.
BOTH: Now, make 15+ macro photographs to bring to next class.
Macro photography refers to photographs made with a lens that allows the photographer extreme close-ups. It is an image where the subject on the negative or image sensor is life size or greater. If it is recorded life size on the negative/sensor we refer to that ratio of as "1:1".
For our purposes - and since I don't necessarily want you to purchase a specialized macro lens - we'll call this project close-up photography.
This is the symbol that denotes close-up/macro mode on point-and-shoot cameras.

Alexey Kljatov. CLICK HERE.
The link. CLICK HERE.


