1. IN CLASS TODAY: 6+ Practice macro images.
2. WEEKEND ASSIGNMENT: Make 12+ MORE macro photographs of surface textures, small objects...things that look interesting close-up.
*50% more than the minimum will earn you extra credit points.
**As a beginner, we are not at a less is more stage. More is more, and the more you do, the better.
WHAT IS MACRO?
APERTURE=the opening into the camera.
APERTURE also allows you to control what is called DEPTH OF FIELD.
DEPTH OF FIELD refers to how wide an area is in focus.
Take a look at this graphic:
The purple area represents what IS in focus, and the lenses show you the aperture setting needed for THAT particular sliver of focus.
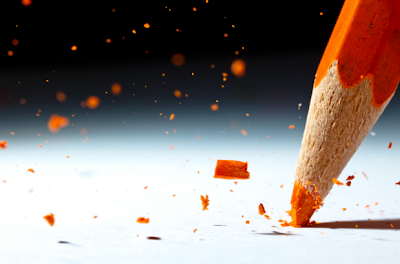
MACRO photography refers to close-up photography.
A lot of macro photography is done with specialty lenses.
However, you can probably make them with the macro setting that is included on most cameras.
This is the symbol that denotes close-up/macro mode on point-and-shoot cameras:

A. If you have a DSLR, you might have a MACRO setting (the flower). If so, use that setting. If not...
1. Set your mode to "A" for "aperture priority."
2. Then, set your aperture to as WIDE OPEN a setting as possible. That means, the SMALLEST f/stop number. Look at these aperture sizes in relation to the numbers below them:
Notice how the smaller number, f-1.4, is the WIDEST OPEN aperture setting.
This will give you the smallest sliver of focus possible with your lens (small/shallow depth of field).3. If you are in Aperture Priority setting, your camera will then set the shutter speed to compensate for the wide open aperture.
B. If you are working with a point-and-shoot camera, or a phone camera:
1. Set your camera mode to the "macro" function:

EXAMPLES & SITES:
Tips for macro photography. CLICK HERE.
The link. CLICK HERE.

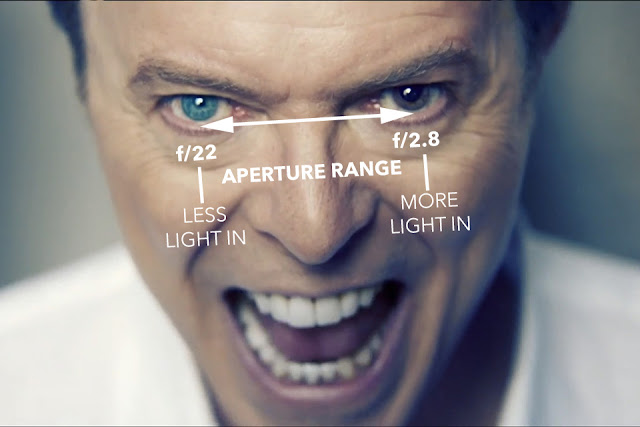
And because I loved, and still love, Bowie, here's a graphic I made using his eyes. He had a childhood accident that left one of his pupils permanently open wide:


